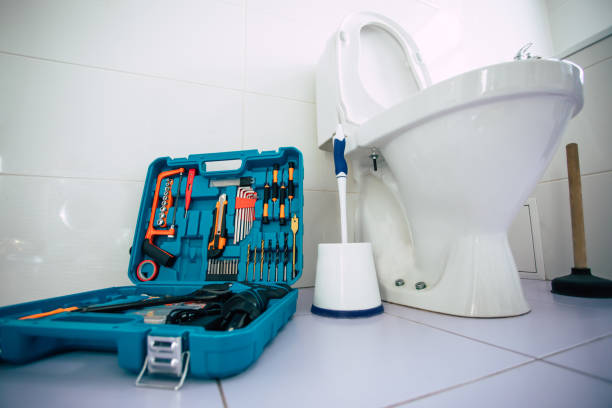
A leaking toilet can significantly increase your water bill and cause unnecessary stress. Fortunately, many of these issues can be resolved with a little bit of knowledge and some basic tools. Engaging in DIY toilet repairs can help save money and also provide a sense of accomplishment. By understanding the common causes of leaks and how to fix them, costly professional services can be avoided. This article guides through the process of identifying and fixing toilet leaks, providing practical tips and advice for effective leaking toilet repair.
Identifying the Causes of a Leaking Toilet
Understanding the root cause of a toilet leak is the first step in resolving the problem. The following are some common causes:
- Faulty Flapper: The flapper is a rubber valve at the bottom of the tank that controls water flow to the bowl. Over time, it can become warped or cracked, causing leaks.
- Fill Valve Issues: The fill valve controls the water level in the tank. If it?s not functioning correctly, it may cause continuous water flow.
- Worn-Out Wax Ring: Located between the toilet base and the drainpipe, the wax ring can degrade, leading to leaks at the base of the toilet.
DIY Steps to Fix a Leaking Toilet
Replace the Flapper
Replacing a faulty flapper is one of the simplest and most common toilet repairs. Follow these steps:
- Turn off the water supply to the toilet.
- Flush the toilet to drain as much water as possible from the tank.
- Remove the old flapper by detaching it from the chain and unhooking it from the overflow tube.
- Install the new flapper by attaching it to the overflow tube and connecting the chain.
- Turn the water supply back on and test the repair by flushing the toilet.
Adjust or Replace the Fill Valve
If the water level is too high or the toilet runs continuously, the fill valve may need adjustment or replacement:
- Adjust the float to lower the water level if it’s too high.
- If the valve is malfunctioning, turn off the water supply and remove the old valve.
- Install a new fill valve by following the manufacturer’s instructions.
- Test the repair by turning on the water supply and observing the water level.
Replace the Wax Ring
A worn-out wax ring requires more effort to replace but is manageable with the right approach:
- Turn off the water supply and drain the tank and bowl.
- Remove the toilet by unscrewing the bolts at the base and gently lifting it off the floor.
- Scrape off the old wax ring and clean the flange.
- Position the new wax ring and carefully place the toilet back over it, aligning it with the bolts.
- Tighten the bolts and reconnect the water supply.
When to Call a Professional
While DIY repairs are cost-effective, there are situations where professional help may be necessary, such as:
- Persistent leaks after attempting DIY repairs.
- Complicated issues involving the plumbing system.
- Limited time or lack of confidence in completing the repair.
In these instances, considering professional leaking toilet repair services can be a prudent decision to ensure the problem is resolved efficiently.
Conclusion
DIY toilet repair can be a rewarding endeavor that saves both money and resources. By identifying common issues and applying the appropriate fixes, many homeowners can maintain their toilets without the need for professional intervention. However, it?s crucial to recognize when expert assistance is required to avoid further complications. Adopting a proactive approach to home maintenance can help prevent leaks and ensure the longevity of plumbing systems.