Yachts are synonymous with luxury and adventure. However, the fiberglass hulls that give yachts their sleek appearance and durability can suffer from wear and tear over time. Understanding the nuances of fiberglass yacht repair is essential for maintaining the structural integrity and aesthetic appeal of these vessels. This guide provides comprehensive insights into repairing fiberglass yachts, ensuring that yacht owners can navigate the process with confidence and expertise.
Understanding Fiberglass Damage
Fiberglass damage can occur due to various factors, including collisions, harsh weather conditions, and long-term exposure to the elements. Common types of damage include:
- Cracks and Splits: Often caused by impact or stress, these can range from minor hairline cracks to more significant fractures.
- Blisters: These occur when water penetrates the fiberglass laminate, often manifesting as raised bubbles.
- Delamination: A more severe form of damage where layers of fiberglass separate due to moisture intrusion.
Essential Tools and Materials
Repairing fiberglass requires specific tools and materials to ensure a seamless finish. Key items include:
- Fiberglass Cloth: Used for reinforcing and patching damaged areas.
- Epoxy Resin: Provides a strong bond and is essential for repairs.
- Sandpaper: Essential for smoothing repaired surfaces and preparing them for painting.
- Protective Gear: Safety goggles, gloves, and masks to protect from dust and fumes.
Step-by-Step Repair Process
1. Assess the Damage
Begin by thoroughly inspecting the damaged area. Determine the extent of the damage and decide on the appropriate repair method. For significant damage, professional assistance might be necessary, as outlined in this fiberglass yacht repair resource.
2. Prepare the Surface
Clean the area thoroughly to remove any dirt, grease, or loose particles. Use sandpaper to smooth the edges around the damaged area, which helps in effective bonding during the repair process.
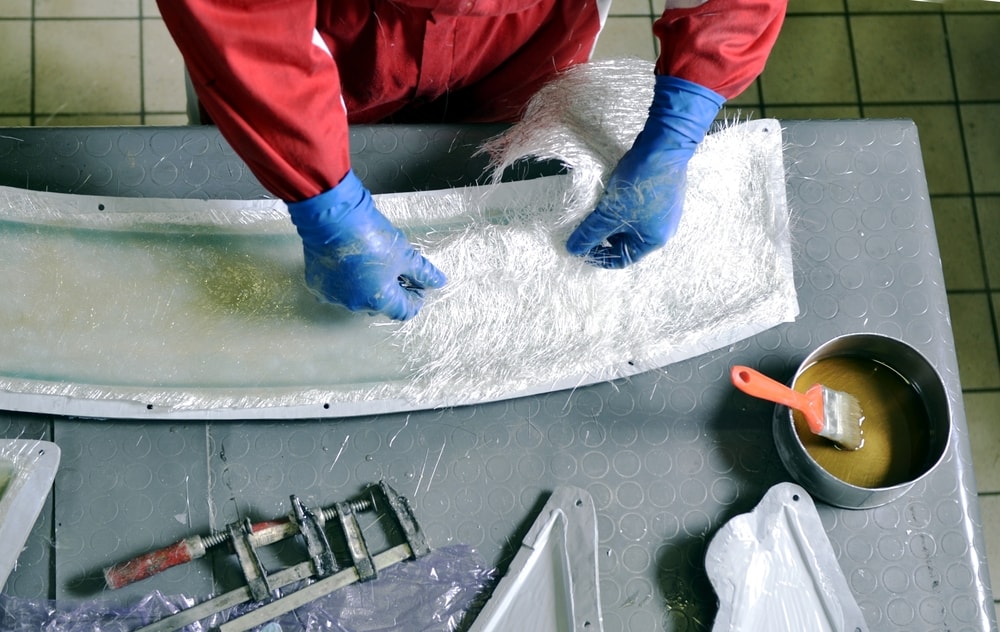
3. Apply the Fiberglass Cloth and Resin
Cut the fiberglass cloth to size, ensuring it slightly overlaps the damaged area. Mix the epoxy resin according to the manufacturer?s instructions and apply it to the area. Lay the cloth over the resin, ensuring it is saturated. Add additional layers if necessary, allowing each layer to cure before applying the next.
4. Sand and Finish
Once the resin is fully cured, sand the repaired area until smooth. This creates a uniform surface, ready for painting or gel coating. Use finer grit sandpaper for the final finish to achieve a professional look.
Preventive Maintenance Tips
Regular maintenance can significantly reduce the likelihood of damage and prolong the life of a yacht?s fiberglass hull. Consider the following tips:
- Regular Inspections: Frequent checks can help identify early signs of damage.
- Proper Cleaning: Use appropriate cleaning agents to prevent the buildup of harmful substances.
- Protective Covering: Use covers when the yacht is not in use to shield against environmental elements.
When to Seek Professional Help
While minor repairs can often be handled with some DIY spirit, certain situations require professional intervention. Complex issues such as extensive delamination or structural damage necessitate expert evaluation and repair. For more information on professional services, explore this comprehensive guide on fiberglass yacht repair.
In conclusion, fiberglass yacht repair is a crucial skill for maintaining the value and performance of a yacht. By understanding the types of damage, acquiring the right tools, and following a structured repair process, yacht owners can effectively manage minor repairs themselves. However, knowing when to engage professionals ensures that yachts remain in pristine condition, ready for the next adventure on the water.